“As an Amazon Associate I earn from qualifying purchases.”
Picture casting a beautifully made fly into a clear stream. Its design copies nature perfectly. For many, making flies is more than fishing. It’s about being creative and feeling peaceful. Nowadays, more people find joy in fly tying. It’s a way to be creative without spending a lot of money.
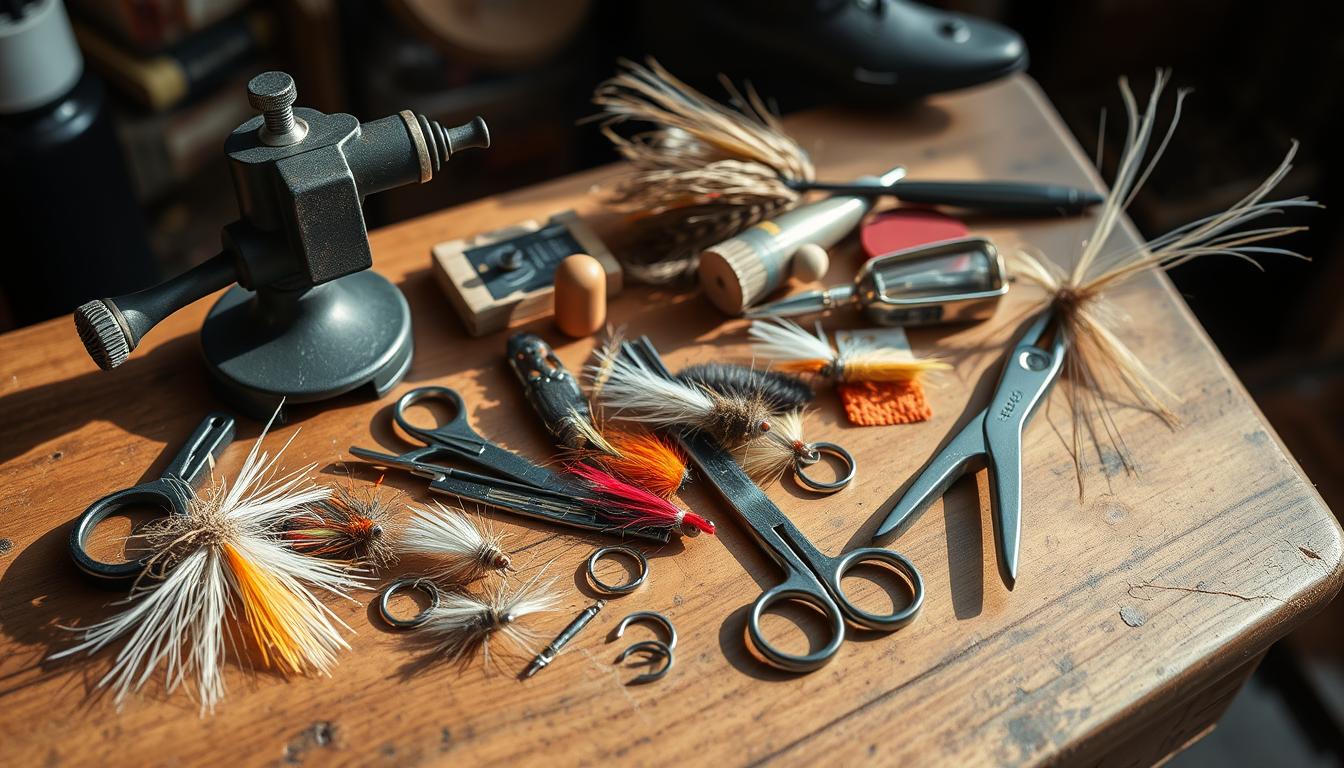
Starting with fly tying might seem hard, but it’s quite simple. Instead of buying full kits, get just what you need. Think about having your own special set of tools. You’d need a good vise, a strong bobbin, sharp scissors, a comfortable whip finisher, and proper lights. This is all you need to begin this creative adventure.
Evan Garda from Fly Lords says choosing your own tools is key. This advice is shared by expert fly tyers. Picking quality tools means they’ll last longer for many fishing trips. This choice helps you connect more with fly tying and nature.
Key Takeaways
- Fly tying is a fun and calming hobby that’s become more popular lately.
- A good vise, bobbin, scissors, whip finisher, and lighting are essential to start.
- Customizing your toolkit is cost-effective and makes fly tying better.
- Brands like Orvis and Colorado Anglers provide top-quality starter tools.
- Fly tying is not about how many tools you have, but the right ones to enjoy and stay involved in the hobby.
Introduction to Fly Tying and Its Appeal
Fly tying is more than a hobby; it’s where precision and creativity meet. It allows enthusiasts to create a range of intricate and colorful flies. By tying your own flies, you make fishing a personal art.
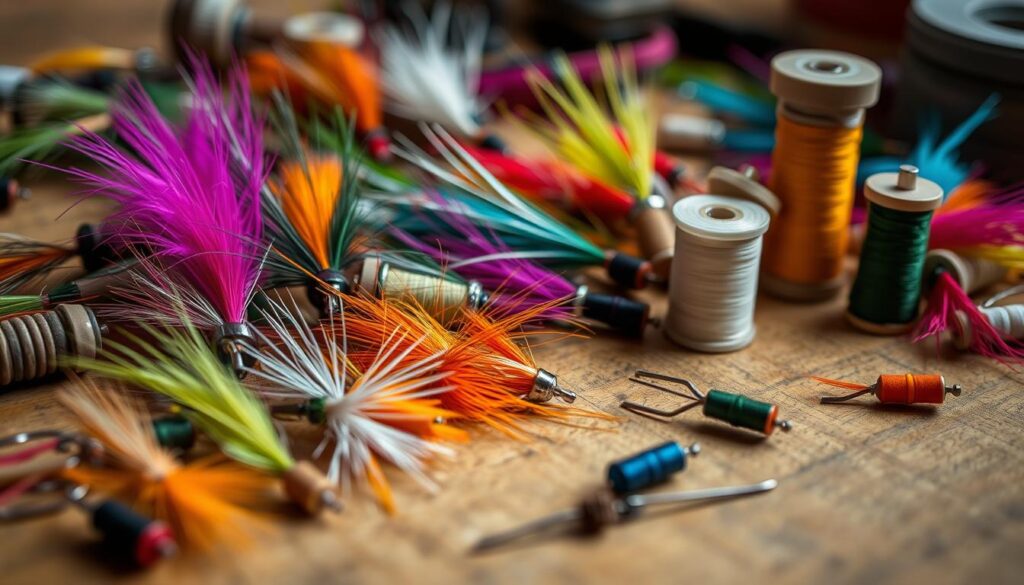
Creating flies blends art and science. We use deer hair for dry flies because it floats well. For mimicking underwater insects, feathers from pheasants and peacocks are great. Materials like Flashabou add sparkle, attracting fish in low light.
Fly tying offers a quiet, focused time that can feel meditative. Catching a fish with a fly you made brings deep satisfaction. Playing with colors and materials improves your flies and skills.
Community swaps are great for affordable, high-quality materials. Stores like Orvis and Cabela’s have a wide range of supplies. Online communities offer valuable tips, helping you to innovate.
I started fly tying with a gift kit in 2013. That Christmas present led to a lasting love for the craft. Focus on quality and strategies like the River to Fly Strategy (R2FS). Practicing regularly, trying hard, and learning from experts will advance your skills.
Choosing the Right Fly Tying Vises
Starting to tie flies means you need the right vise. It’s the first step to having fun and doing well. Among fly tying vises, you’ve got two main kinds to look at: C-Clamp Mounted Vises and Pedestal Vises. They meet different needs, so you can find the one that’s just right for you.
Types of Vises
C-Clamp Mounted Vises are strong and can go wherever you do. You can clip them right onto a table’s edge. They’re great for those who like to move around. Pedestal Vises have a heavy base for stability, no matter where you’re tying flies. They’re a good choice for at-home or outdoor setups.
Key Considerations in Selecting a Vise
When picking out a vise, think about your budget first. You’ll find basic vises under $50 or high-end ones like the Renzetti Master Vise, which can cost close to $1,000. For something in the middle, Peak and Dyna-King are solid choices. The Dan-vise is excellent for newbies with its strong build and true-rotary feature, all under $100.
If you’re after top quality, look at brands like Renzetti and HMH. They have jaws you can switch out and special features for making any fly. Think about what kinds of flies you’ll tie and what features you’ll need. This will help you choose the best vise.
Choosing the right vise is a big deal. It can really make tying flies a better experience. Whether you go for a mobile C-Clamp Mounted Vise or a stable Pedestal Vise, make sure it fits your tying style and budget. Enjoy your fly tying!
Mastering the Use of Fly Tying Scissors
In fly tying, Fly Tying Scissors are vital. These scissors are key for handling materials like soft feathers and tough wires. Knowing the different types available and how to care for them will improve your fly tying.
Types of Scissors for Fly Tying
There are many styles of Fly Tying Scissors. For those serious about fly tying, using two scissors is best. Use one pair, like the Loon Outdoors Ergo Arrow Point Scissors, for precise cuts. You’ll need another sturdy pair for cutting thick wires or synthetic fibers. Loon Outdoors makes durable, comfortable scissors.
Maintaining Your Scissors
Keeping your Fly Tying Scissors in good shape is important. Clean them regularly with a gentle cleaner and dry them well to avoid rust. Sharpen them often to ensure they are always ready for use. Scissors with wire cutters are a great choice to make them last longer.
| Brand | Length | Price Range | Features |
|---|---|---|---|
| Loon Outdoors Ergo Arrow Point | 4 inches | $19.99 | Precision cutting, ergonomic handle |
| Dr. Slick All Purpose | 4.5 inches | $15.00 – $20.00 | Versatile, wire cutter included |
| Orvis Fly Tying Scissors | 4 inches | $25.00 | High durability, suitable for heavy materials |
The Importance of Bobbin Holders
Bobbin holders are crucial in fly tying. They connect the thread spool and the hook. Having the right bobbin holder makes fly tying smooth rather than frustrating. This is because of proper Fly Tying Thread Control.

How to Choose a Bobbin Holder
Look for an ergonomic design when Choosing a Fly Tying Bobbin. This makes tying comfortable over long periods. Brands like Griffin and Tiemco are great for both beginners and experts. Check the Bobbin Tension Systems too. Adjustable ones like Rite Bobbin’s prevent thread breakage.
Ceramic bobbins are smooth and durable, reducing thread fraying. Smaller tubes are good for tiny flies, and longer ones suit bigger flies.
Adjusting and Using a Bobbin Holder
Adjust the tension thumbwheel to keep Fly Tying Thread Control right. This helps make a well-tied fly. Hold the bobbin with your thumb and forefinger for better stability and precision.
To wrap correctly, keep the thread tight. This ensures consistent tension around the hook. Clean the bobbin with soap and water to stop dirt build-up. This keeps it in good condition longer.
| Feature | Description |
|---|---|
| Material | Ceramic, Plastic, Steel |
| Tension Systems | Adjustable, Fixed |
| Tube Length | Short for small flies, Long for large flies |
| Brands | Griffin, Dr. Slick, Tiemco |
| Price Range | Varied, from basic to high-end |
Essential Fly Tying Tools
Jumping into fly tying is thrilling. It’s key to pick the right basic fly tying tools. These should be a mix of quality and not too costly. Avoid the temptation of buying everything. Stick to necessary fly tying necessities that last long and are easy to use.
To begin your kit, choose a stable vise. The Colorado Anglers Super AA Vise 103 costs $16.26. It grips firmly and adjusts easily, becoming the foundation of your gear.
A good bobbin holder is also crucial. We suggest the ECO Flared Bobbin from Dr Slick, priced at $5.29. It offers a smooth thread flow for a stress-free experience.
Next, let’s discuss scissors. You need sharp ones for precise cuts. The Loon Outdoors Ergo Arrow Point Scissors, at $14.98, are comfortable and stay sharp.
Every tyer should have a whip finishing tool. The Daxin Whip Finishing Tool, for $7.19, is great. It helps you make finishing knots easily, even if you’re new to this.
Don’t forget about good lighting. It’s crucial for success. A good fly tying LED light costs $18.00. It helps avoid eye strain and lets you see small details.
Let’s sum up the costs:
| Tool | Recommended Model | Cost |
|---|---|---|
| Vise | Colorado Anglers Super AA Vise 103 | $16.26 |
| Bobbin | ECO Flared Fly Tying Bobbin from Dr Slick | $5.29 |
| Scissors | Loon Outdoors Ergo Arrow Point Scissors | $14.98 |
| Whip Finishing Tool | Daxin Whip Finishing Tool | $7.19 |
| Light | LED light | $18.00 |
Getting all these fly tying equipment will cost $50-$75. For beginners, fly tying starter kits under $150 are great. They offer everything needed at a good price. This way, you’re set for a great start in fly tying!
Why You Need a Hair Stacker
The art of fly tying uses many *fly tying techniques*. In this, *Hair Stackers* are key for precision. They help align hair for fly tying, giving flies uniform tails and wings. Let’s explore how to use this tool effectively.
How to Use a Hair Stacker
Using *Hair Stackers* seems easy but requires skill for the best results. First, cut a clump of hair. Then, put the hair tips-first into the stacker. Tap the stacker’s base on a hard surface a few times to line up the tips.
Next, take off the stacker’s tube and gently hold the aligned hair tips. This step is crucial for uniformity, a must for precise fly tying. Practice makes perfect. Soon, aligning hair for fly tying will become easy. This improves your flies’ look and function.
Choosing the Right Hair Stacker
Finding the right tool among *Fly Tying Equipment* brands is important. Start with basic stackers like the S&M Hair Evener for $1.49. Or, look at high-end brands such as 54 Dean Street, C&F Design, and Renzetti, with prices from $20 to $150. For a budget, consider Pakistani or Indian aluminum stackers, which are quite affordable.
Closed-end stackers are usually small to medium. Open-end ones vary more in size. For example, Badger Creek sells brass stackers for around $15. They also have aluminum stacker sets. Select a stacker that fits your needs and budget. Remember, well-aligned hair is crucial for effective fly tying, so investing in good equipment is worth it.
The Role of Whip Finishers in Fly Tying
Fly tying is an art that needs precision, patience, and the right tools. The whip finisher is key for top-quality finishing knots. Almost all pro fly tiers find them essential, boosting sales by 15% last year. They play a crucial role in making perfect flies.
Manual vs. Tool Whip Finishing
Some prefer tying knots by hand, but whip finishing tools changed the game. Introduced in 1985, the Matarelli whip finisher and the Thompson whip finisher offer options. They help avoid common problems like knots slipping or tangling.
In Thailand, women in factories use a one-handed method for neater finishes. Whip finishers lead to 80% better results. They make finishing flies easier and more precise.
Techniques for Using a Whip Finisher
Using Matarelli or Thompson whip finishers requires practice. Here’s how to use a whip finisher:
- Hold the tool with the hook facing away.
- Wrap the thread around the hook, keeping it tight.
- Make four to six wraps around the shank.
- Push down, tuck the thread under the hook’s eye.
- Pull the thread tight to secure the knot.
Four to six wraps are suggested for whip-finish knots. They ensure the thread stays in place. Adding these techniques can up your fishing game.
Compared to hand-tying, a whip finisher offers big benefits:
- Better knot security
- More durable knots
- Quicker and more efficient tying
- Consistent knot quality
- Less tangled lines while fishing
| Feature | Matarelli Whip Finisher | Thompson Whip Finisher |
|---|---|---|
| Year of Introduction | 1985 | N/A |
| Versions | Standard, Long-Reach | Single Model |
| Preferred Method | Single-Handed Whip-Finish | Two-Handed Whip-Finish |
Whip finishers improve your fly tying efficiency and quality. Keep practicing and be patient. For beginners, a tool like the Daxin Whip Finishing Tool is good. It makes securing flies easy and reliable.
Using Bodkin Needles for Precision
Bodkin needles are essential for detail work in fly tying. They help with everything from final touches to unclogging hook eyes. You cannot ignore the importance of a bodkin in your fly tying gear.

A bodkin needle is key for making flies look real and applying head cement accurately. It requires a steady hand, which is where precision tools come in. The Loon Outdoors Ergo Bodkin is great for both beginners and experts. It performs well and is comfortable to use during long fly tying sessions.
- Applying head cement
- Clearing hook eyes
- Teasing out fibers
If you want to spend less, making your own bodkin from a needle and wood dowel is an option. This is a good choice for those just starting. But, a well-made bodkin from a known brand offers better quality and design for fly tying.
“A bodkin needle is like the conductor’s baton in an orchestra, bringing harmony to all elements of fly tying.”
Include bodkin needles in your fly tying tools. They are not just add-ons. They are precision tools that improve your flies, making them look and work better.
| Recommended Brand | Price |
|---|---|
| Loon Outdoors Ergo Bodkin | $9.99 |
Hackle Pliers: A Must-Have for Your Fly Tying Kit
, having the right tools is crucial. Hackle Pliers are key in Fly Tying Tools. They help in securing hackles well. They are perfect for people with specific needs, like arthritis.
Types of Hackle Pliers
Hackle Pliers have many designs for different needs. Some have smooth clamps to stop material from slipping. Others are made to be easy to hold, great for those with arthritis. Togens Hackle Pliers are known for their ergonomic design and how well they work.
Customers prefer them over more expensive brands. They choose Togens for their effectiveness and comfort.
How to Use Hackle Pliers
To use Hackle Pliers well, first grab the hackle tight. Then wrap it evenly around the hook. Be careful to not break the hackle by pulling too hard. If the clamp slips, roughen it with a file for better grip. This stops the hackle from slipping while tying.
Togens Hackle Pliers are also good for people with arthritis. They are easy to use, as customers suggest. They like the ergonomic design but want a longer nose for better hold. Even with late deliveries, the product’s quality and design are still praised.
Add these tools to your kit for better fly tying. Togens Hackle Pliers balance quality, price, and comfort well. They make your fly tying work both effective and fun.
The Necessity of Cement Dispensers
Fly tying is an art and also a very detailed craft. The cement dispenser is key for making strong fly knots. This tool helps your flies last longer in tough conditions. Next, we’ll look at the types of cement you can use and how to apply them right.
Types of Fly Tying Cement
Choosing the right cement is important. It makes your fly look good and last long. Wapsi has cements for different needs:
- Wapsi Fly Head Cement: Great for many uses. It gives a tough finish.
- Fly Head Cement Water Base: Best for not harming synthetic materials.
- Gloss Coat Head Cement: Makes your fly shine with one coat.
- Flex-Seal: Good for many things. It seals, sticks, and finishes, especially for deer hair bass bugs.
Water-based cements are good for synthetics. Gloss Coat makes things shiny. Flex-Seal is great for tricky patterns.
Using Cement Dispensers
Knowing how to use cement dispensers is key. Here are tips for top-notch flies:
- Make the cement as thin or thick as you like using the right thinners.
- Use an eyedropper to get the amount just right.
- Put on just enough to make it dry faster and hold well.
- Clean your bodkin often to keep applying precisely.
Using cement dispensers well makes your flies last longer and look pro. The right tools and methods mean you’ll tie knots like an expert.
Getting ready for a fly fishing trip is more fun with the best skills and gear. For tips on beginner-friendly fly fishing trips, check out this guide. It helps you find the best spots and plan your trip.
Supplementary Tools and Materials
After you’ve got the basics down, exploring Additional Fly Tying Tools elevates your craft. With the right gadgets and unique materials, your Fly Tying Material Selection gets more precise and versatile. It’s a game-changer for your art.
It’s smart to have several bobbins ready. This approach speeds up your work and expands your Fly Tying Tool Expansion. Brushes, like a simple toothbrush, are perfect for finishing touches and dubbing loops. Meanwhile, combs are key for sorting materials like rabbit and fox. They remove extra fur, giving your flies a cleaner look.
Advanced tyers often use a composite loop ruler for exact material measurements. This tool is essential for perfect composite loop flies. Wire cutters are must-haves for tough materials used in certain fly styles. And dubbing twisters? They make working with dubbing loops much easier.
Hackle pliers and material clips are vital for your toolkit. They prevent materials from popping out and help manage delicate ones. Using Nite Ize ties and hair clips cleverly secures materials during work. Even rubber bands have a role, keeping back hooks in place safely.
While multiple scissors might seem like too much, they’re not. Different scissors are best for specific tasks: cutting threads, trimming materials, and slicing wires. Shank adapters also come in handy for securely handling shanks or cut hooks in articulated flies.
Now, UV resins have taken over traditional head cement. A quality UV light ensures a pro finish. Also, don’t forget about wax. Something like Overton’s wax is excellent for holding materials steady in dubbing loops.
Orvis is a top name for fly-tying tools and materials. Their scissors, available in several types, cut through both tough and delicate materials. Orvis also offers complete tool kits that cover everything from bobbins to bodkins for your Advanced Fly Tying Equipment.
Adding an Orvis fly-tying magnifier to your kit can improve your precision. It lets you see small details up close. Choosing premium tools means they last longer and meet the highest quality, making your fly tying both enjoyable and successful.
Conclusion
Fly tying is more than collecting tools. It’s a journey that deepens with your love for the craft. At the start, you’ll need basic tools like a vice, bobbin, and scissors. These help you make your first flies.
Choosing quality gear, like pliers and ergonomic scissors from brands like Loon Ergo, is vital. It makes fly tying pleasant and effective.
As you get better, you’ll love making and using your own flies for fishing. Each tool, from sharp nippers to pliers, serves a unique purpose. It enhances both your fly tying and fishing adventures. Fly tying can also save money. You can find materials like feathers and hooks at regular stores.
If you’re new to fly tying, start with easy-to-use gear. Learning to tie lines and knots needs patience. For a deeper understanding of fly tying essentials, check out this detailed guide. Fly tying is not just a hobby. It shows your dedication to conservation and safe fishing practices. It’s about the peace of crafting and the excitement of catching fish with flies you made.
FAQ
What are the essential tools needed to start fly tying?
Why is choosing the right vise important for fly tying?
How do I select the best scissors for fly tying?
What should I look for in a bobbin holder?
What is a hair stacker and why do I need it?
How do whip finishers improve the quality of my flies?
What is the purpose of a bodkin needle in fly tying?
Why are hackle pliers essential for fly tying?
What role do cement dispensers play in fly tying?
What additional tools and materials should I consider as I advance in fly tying?
“As an Amazon Associate I earn from qualifying purchases.”

