This post contains affiliate links.
Key Takeaways
- Understanding fly tying basics is vital for starters.
- New tiers often start with the woolly bugger pattern.
- Simple designs like the foam beetle and CDC and Elk are effective, using few materials.
- Skills in whip finishing and hackle tying make flies last longer.
- Adapting patterns to fishing conditions can improve your catch rate.
Introduction to Fly Tying
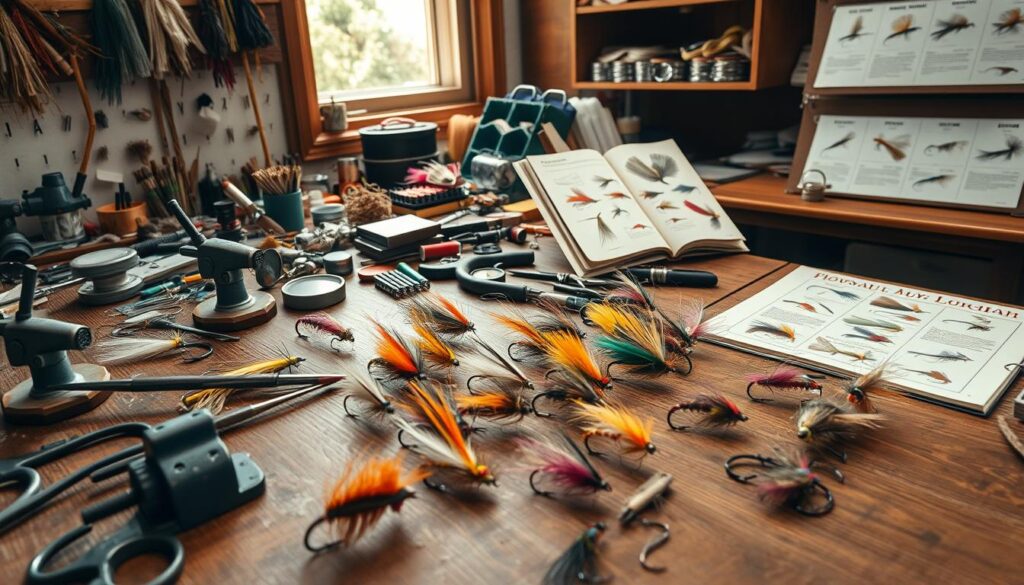
Fly tying is not just a hobby; it’s a deep look into fly fishing’s essence. Creating your own flies for fishing gives you insights into water ecosystems and how fish behave. This mix of craft and fishing skill makes fly tying popular among enthusiasts. You might tie flies for the joy of it or just for fun. Either way, the benefits are many.Why Fly Tying?
Why do many anglers love to tie their own flies? The answer is simple: fly tying means you can make lures just how you want them. This personal touch lets you closely imitate local bugs and conditions. It ups your chances of catching fish. Plus, making your own flies can save you money. It’s cheaper than buying lures, even with investments like the $120 Loon Complete Fly Tying Tool Kit.Benefits of Tying Your Own Flies
Catching a fish with a fly you made is truly special. It brings joy similar to a chef watching someone enjoy their dish. Fly tying benefits go beyond just practical things.- Personalization: You can make each fly to suit your specific needs and match the local environment.
- Cost-Effective: You can start with kits under $100 or even use second-hand gear to save money.
- Therapeutic Process: Fly tying offers a break from the daily grind, acting as a form of meditation.
- Skill Development: Starting with simple designs, you’ll learn and improve as you tackle more complex flies.
| Tool | Average Price |
|---|---|
| Vise | $20 to $500+ |
| Complete Fly Tying Tool Kit | $60 to $120 |
| Pointed Tip Scissors | $10 to $50 |
| Bodkin | $5 to $20 |
| Bobbin | $10 to $30 |
| Dubbing Wax | $5 to $15 |
| Thread | $2 to $5 per spool |
Choosing the Right Vise
Starting your fly tying journey requires the right tools. We’ll help you choose the right vise, from simple to advanced. Making an informed decision is crucial.Entry-Level Vises
If you’re new to fly tying, beginning with an entry-level vise makes sense. Brands like Thompson and Griffin have reliable, budget-friendly options, often under $20. These basic vises are fixed in position. They lack the rotary feature of pricier models, yet offer a solid start.Mid-Range Vises
Ready to step up? Mid-range vises by Peak and Renzetti are good choices. They cost between $100 and $300. With true rotary capabilities, they allow for a full view of your work. They often have jaws you can swap to tie different sizes of flies.High-End Vises
Serious tiers might consider high-end vises for top quality. The Renzetti Master Special Edition costs over $700. It’s known for precision and durability. The LAW vise, at over $3,000, is famed for its design and longevity, capable of crafting over 12,000 flies. These premium vises come with rotary heads, adjustable tensions, and are made of superior materials.Choosing a fly tying vise depends on your budget, the complexity of flies you want to tie, and your personal vise preferences. Whether you choose a basic or a luxurious vise, the right tools will uplift your fly tying experience.| Category | Brands | Price Range | Features |
|---|---|---|---|
| Entry-Level | Thompson, Griffin | Sub-$20 | Stationary, basic functionality |
| Mid-Range | Peak, Renzetti | $100 – $300 | True rotary, interchangeable jaws |
| High-End | Renzetti Master Special Edition, LAW | $700+ | Rotary heads, multiple tension adjustments, superior materials |
Essential Fly Tying Tools
Starting with fly tying might feel overwhelming without the proper tools. Both newbies and experts require a solid set of tools, but the specifics can vary. It depends on your experience and goals.Basic Tools Needed
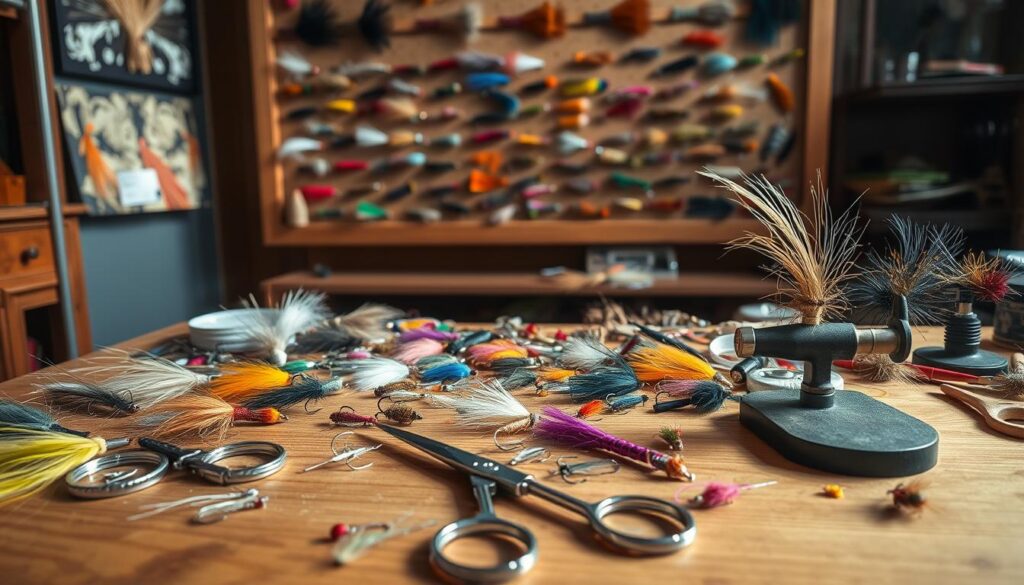
Beginners should have a basic toolkit to simplify the process. These essential tools are found in most fly tying kits. They include:- Vise – Holds your hook firmly in place.
- Bobbins – For thread management.
- Scissors – You’ll need two pairs: one for fine cutting, another for tougher materials.
- Hackle Pliers – These grip and wrap feathers.
- Bodkin – A needle for various tasks like applying head cement.
Advanced Tools for Experts
With more experience, you might seek advanced tools. These tools grant more precision and creativity. Let’s look at some of these advanced tools:- Hair Stackers – Essential for aligning hairs evenly, especially for precise patterns.
- Dubbing Twisters – They twist dubbing materials tightly, making them easier to handle.
- Dubbing Needles – Useful for various tasks including applying cement.
- Tweezers and Small Pliers – Perfect for fine work and adjustments.
- Organizers – Keep all tools easily accessible.
Step-by-Step Fly Tying Guide
Starting your journey in fly tying is really exciting. We will simplify the must-know basics of the craft for you. This guide is perfect whether you’re just starting out or looking to get better at your craft. It will point you in the right direction.Getting Started
Setting up your space is the first step. You need a few things to begin:- A solid fly tying vise (refer back to our section on choosing the right vise)
- Essential tools like bobbin holders, scissors, and hackle pliers
- Basic materials such as hooks, threads, and feathers

Basic Techniques to Master
Getting good at the basics will help you make lots of different flies. Focus on these critical skills:- Creating a Smooth Underbody: Making a smooth base helps the rest of your materials fit right. This makes your finished fly look good.
- Applying Ribs and Hackles: Ribs add strength and a cool look to your fly, while hackles make it move like a real insect. Learning how to add these is important.
- Securing Flies with a Whip Finish: The last step in most flies keeps everything tight. Getting good at whip finishes means your flies won’t come apart.
Fly Tying Materials
Starting your fly tying journey means getting the right materials. It doesn’t matter if you’re a newbie or an expert. Knowing your materials is key.Essential Materials for Beginners
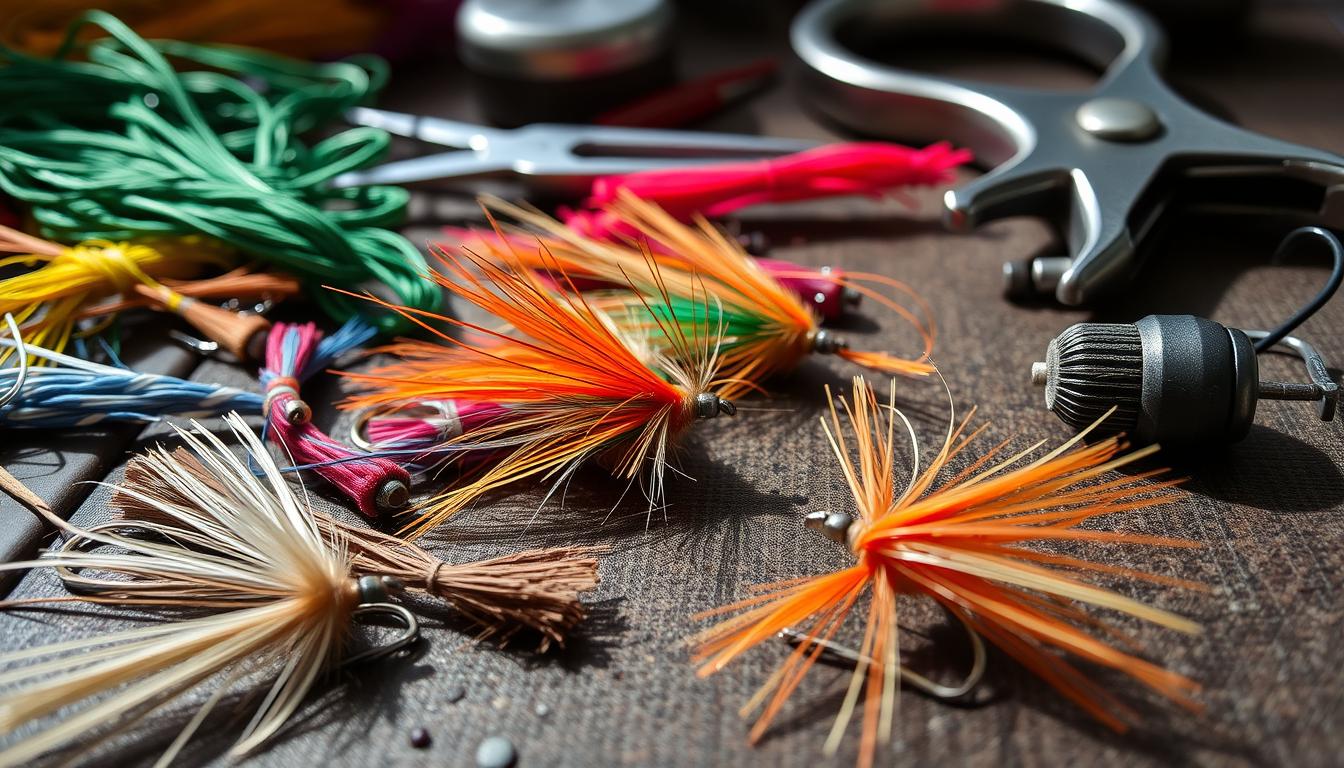
Beginners should start with basic fly tying materials. These essentials include:- Hooks: They are the foundation of every fly. Pick the correct size for the fish you want to catch.
- Thread: Often comes in sizes 6/0 or 8/0 for flexibility.
- Ultra-Chenille: Ideal for making attractive worm patterns.
- Head Cement: It ensures your fly stays together well.
- Dubbing: It adds bulk and texture to flies.
- Hackle: Provides realistic movements in water.
Specialized Materials for Advanced Flies
Advanced fly tying takes creativity to the next level with special materials. Experienced tiers should look into:- Deer Hair: Mimics various prey in different patterns.
- CDC (Cul de Canard): Its buoyancy is perfect for dry flies.
- Goose Biots: Great for segmented bodies and detailed wings, in colors like white, brown, and black.
- Bead Heads: They add weight and shine to attract fish in deep waters.
- Flashabou: Gives your flies an enticing shimmer.
- Lead Wire: Quickens the sink rate of your fly.
Remember, knowing various fishing knots is just as crucial as understanding materials. Combining these skills boosts your fishing.Keep an eye out for more on starting to tie flies and more complex patterns.
Learning to Tie Your First Flies
Starting to tie flies is an exciting journey. It’s key to begin with patterns that teach you basic techniques. These techniques will help you make flies that work well for fishing. We’ll look at two key fly tying patterns for beginners: the Woolly Bugger and simple nymph patterns.Woolly Bugger Pattern
The Woolly Bugger is a top choice for newbies. It teaches important basics for making more advanced flies. You’ll learn to start your thread, add materials, and finish with a whip.To make this fly, you need simple materials. Get some black marabou, saddle hackle, black chenille, and Mustad R74 size hooks. The Woolly Bugger is simple but very effective, making it a must-have.Steps to create a Woolly Bugger pattern:- Begin winding your thread near the hook’s start point, moving to the bend.
- Add a marabou tail that matches the hook’s length.
- Fix chenille and a saddle hackle on the hook’s backbone.
- Wrap the chenille to the front and secure it at the eye.
- Spiral the saddle hackle forward evenly and tie it down near the eye.
- Use a whip finish tool to complete the head of the fly.
Simple Nymph Patterns
Starters should try simple nymphs, like the Gold-Ribbed Hare’s Ear. It shows the importance of proper fly size. It teaches how to add tails, bodies, ribbing, and wingcases.You need hare’s ear dubbing, gold wire, pheasant tail fibers, and a size 12 nymph hook for this nymph. It’s great for practicing body and ribbing techniques. These are common in many beginner’s fly tying patterns.Steps to create a Gold-Ribbed Hare’s Ear pattern:- Start the thread at the hook’s eye, then go back to the bend.
- Attach pheasant tail fibers to make a tail.
- Add gold wire along the hook for ribbing.
- Create a tapered body with the dubbing to the shank’s middle.
- Wrap the gold wire tightly forward and secure it at the eye.
- Make a wingcase with leftover pheasant tail fibers. Secure at the fly’s head.
- Finish with a whip stitch. Add a drop of cement for strength.
Fly Tying Techniques
Starting with fly tying might seem hard, but right techniques make it easier. Beginners can craft effective flies by learning about materials like fur, feathers, or thread. Knowing how each material works is key.- Thread Management: Good thread control is essential. It keeps materials in place and makes your fly last longer. Quality bobbins, such as the Loon Ergo Bobbin, help keep tension even.
- Material Handling: Different materials need different handling. For instance, peacock herl can break easily, while synthetics have their own needs. Being aware of this smoothens pattern creation.
- Knot Mastery: Proper knots, like the whip finish with a Dr. Slick Whip Finisher Rotary, make your fly strong and neat.
| Brand | Essential Tools | Cost |
|---|---|---|
| Loon Outdoors | Core Fly Tying Tools Set | $60.00 |
| Peak Fishing | Rotary Fly-Tying Vise | $154.99 |
| Dr. Slick | Whip Finisher Rotary | $16.95 |
| Umpqua | Flexament Head Cement | $7.50 |
Common Mistakes and How to Avoid Them
Fly tying beginners often run into several common mistakes. This guide highlights those mistakes. It also gives practical tips on how to evade them.Material Placement Issues
Placement is crucial in fly tying. If you place materials wrong, your flies won’t balance well. Many find their feathers aligned incorrectly, leading to uneven wings. To fix this, learn the pinch wrap method. With practice, your materials will be symmetrical and secure.Thread Management Tips
Handling thread wrongly is a frequent error too. It can make your fly materials loose or your flies look untidy. Keeping the thread tension right is key. Too tight, and the thread might snap. A solution is to watch tutorials by expert anglers or consult detailed guides. These resources demonstrate correct thread handling.
| Type of Issue | Common Mistake | Solution |
|---|---|---|
| Material Placement | Feathers misaligned, bulky wings | Practice the pinch wrap method |
| Thread Management | Loose thread, materials slipping | Adjust thread tension, practice regularly |
| General Tips | Lack of clarity on techniques | Watch tutorials, read detailed guides |
Building Your Skill Set
To get better at fly tying, you need to practice a lot and try different patterns. This helps you learn the basics well. Then, it becomes easier to do the more complicated patterns later.Practicing Core Techniques
Learning the main techniques is key for anyone tying flies. Begin with simple things, like wrapping hackle and making smooth, strong bodies. Here are some important skills to work on:- Thread Control: Managing your thread well is the foundation for all your tying work.
- Material Placement: Placing materials the right way is crucial for making effective, long-lasting flies.
- Proportion: Proper proportions make your flies look good and work well.
Advanced Patterns to Try
After you’re good with the basics, try harder fly tying patterns. These need more complex skills and different materials. They help you get better at fly tying.Patterns like the Parachute Adams or the Stimulator are good to practice with. Having the right tools, like the Regal Big Game Head with Travel Base Fly Tying Vise costing around $250, helps a lot with these detailed patterns.Keep practicing and trying new things. But most of all, enjoy making flies. If you keep at it, you’ll master the advanced patterns soon.Resources for Learning Fly Tying
Starting to tie flies is exciting and a bit tricky. Having the right resources can change everything. Here are some great sources to help you become a pro. With these, you’ll always have the best fly for fishing.Books and Magazines
Books and magazines are full of useful info. They teach detailed techniques and fly patterns. Notable books like “The Fly-Tying Bible” by Peter Gathercole and “Fly-Tying for Beginners” by Randall Kaufmann are great. Magazines such as Fly Tyer and Fly Fisherman give expert tips and stories from professionals like Bob Clouser, who talked about his Clouser Deep Minnow in Madison, WI. Great for beginners to learn from experts.Online Videos and Tutorials
The internet has lots of fly tying videos and tutorials. They’re perfect for those who like to see how it’s done. Barry Ord Clarke’s ultimate guide to deer hair is excellent for learning. McPhail’s and Galloup’s videos are also great. They get into techniques and tool use, like the Loon Complete Fly Tying Tool Kit. Watching these can make learning faster.Plus, social media groups, online forums, and sites like Take Me Fishing are full of info. They help bring people together to share knowledge and experiences.For beginners, online tutorials are a good start. They teach basic skills and use simple tools and vises. Joining local fly-tying clubs or workshops can also give practical help, creating a strong base in fly tying.Advanced Fly Tying Patterns
For seasoned enthusiasts, advanced fly tying patterns offer a mix of creativity and challenge. They demand a deep understanding of materials and techniques. Spending lots of hours mastering the basics is key. Now, experts focus on the details, like how to use materials correctly.Articulated streamers and detailed dry flies are key in advanced fly tying. These designs mimic the natural movement of insects well. They also look very appealing. Key materials include top-notch hooks, various feathers, beads, wire, and different dubbing types.Technique and precision are key in these advanced designs. There’s little room for error, but the outcomes are very rewarding.To push your limits, you’ll need sophisticated tools. Essential tools include various vises, Matarelli-style whip finishers, and dubbing brush spinners. Each tool helps perform complex patterns with great skill. The final product not only looks stunning but works well in water.Adding a unique touch can be easy. Use a dubbing brush spinner for detailed loops or pick the right feathers for your fly. Use materials like peacock hurl and fine chenille to make effective and realistic bodies.
| Material | Application | Importance |
|---|---|---|
| Pheasant Tail | Creating intricate nymph patterns | High |
| Peacock Hurl | Adding iridescent highlights | Medium |
| Chenille | Body creation for streamers | High |
| Dubbing | Forming abdomens and thoraxes | High |
| Bucktail | Adding realistic movement | Medium |
Conclusion
Fly tying is more than just a craft; it’s a rewarding journey. The step-by-step guide showed you the basics to complex patterns. From picking the right tools to making advanced lures, you’ve learned a lot.Each try at fly tying is a step forward in your craft. Early efforts may not be perfect, but they’re important steps. Making many versions of the same fly improves your skills. Setting clear goals, like a number of flies for a trip, helps a lot.Enjoying the learning process is key. The River to Fly Strategy (R2FS) helps focus your efforts. It doesn’t matter if your tools are simple or fancy. What matters is the practice and the joy it brings. Every twist and feather gets you closer to being a master.FAQ
Why should I start fly tying?
Fly tying is a rewarding craft that makes fly fishing more fun. You’ll learn about fish and their homes. Plus, catching fish with your own lures feels great.
What are the benefits of tying my own flies?
Making your own lures lets you match them to local waters. You’ll get better at fishing by understanding aquatic life. Also, crafting them is soothing for the mind.
How do I choose the right vise for fly tying?
The right vise matches your experience and budget. Beginners do well with Griffith or Thompson vises.Mid-range options like Peak and Renzetti offer longevity. Experts will enjoy the features of high-end vises like the Renzetti Master Special Edition.
What essential tools do I need for fly tying?
You’ll need tools like a vise, bobbins, scissors, hackle pliers, and whip finishers. As you get better, tools like hair stackers and dubbing twisters help with complex flies.
What materials do I need to start fly tying?
Start with basics like marabou, chenille, wire ribbing, and hackles. The Woolly Bugger is a good first pattern to use them on. More experienced tyers can try different deer hair types.
What is the first fly pattern I should learn to tie?
Beginners should start with the Woolly Bugger. It’s a basic pattern that teaches several fly tying techniques.
What are some common mistakes in fly tying and how can I avoid them?
A common error is putting materials in the wrong place. Practicing the pinch wrap improves this. Also, watch your thread tension. Instructional videos and reading help a lot.
How can I improve my fly tying skills?
Practice basic techniques like wrapping hackle and making even bodies. Then, try more complex patterns with different materials.
Where can I find resources to learn fly tying?
There are many resources, like books, magazines, and online tutorials. Experts like Davie McPhail and Kelly Galloup have helpful videos and guides.
What makes advanced fly tying patterns challenging?
Advanced patterns need complex techniques and careful material choice. They test your understanding of proportion and material behavior.
This post contains affiliate links.

